
Add Leave Time for One Employee
Leave Administrators and some managers can add leave time to an employee’s Leave of Absence case from the Leave of Absence page.
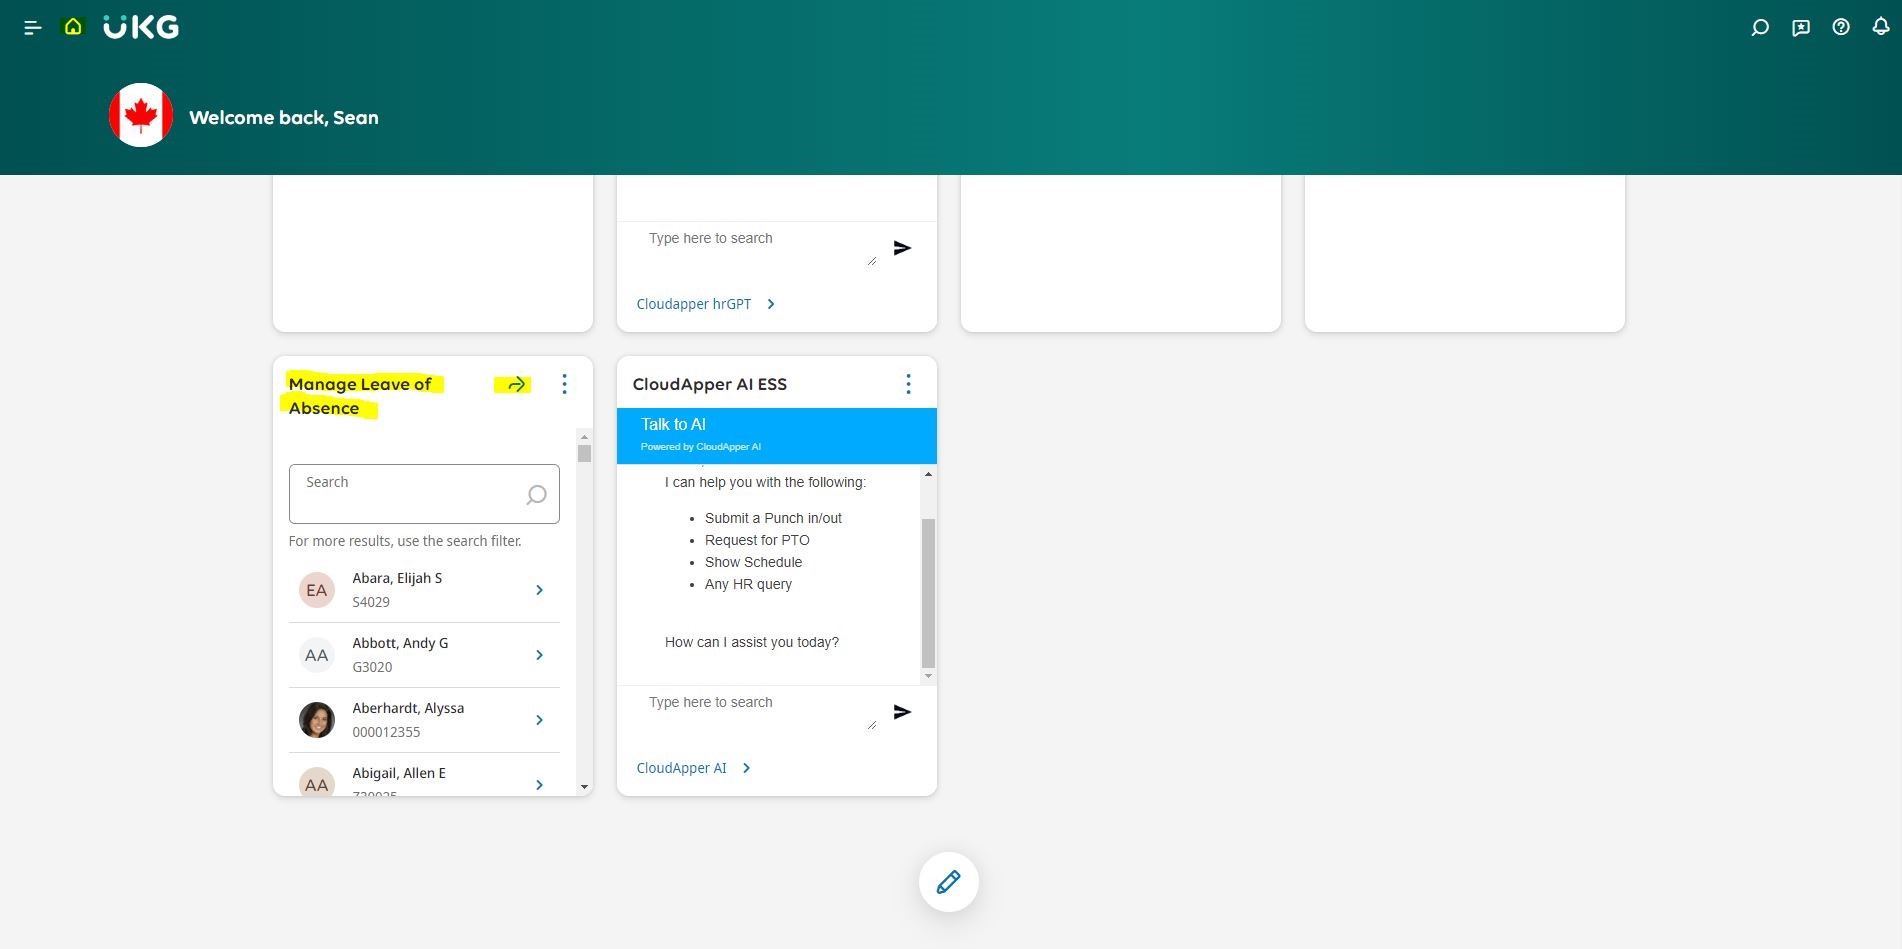
Navigation: Home Page > Manage Leave of Absence Tile > Go to Leave of Absence
1. Select the checkbox beside the employee’s name to whom you want to add leave time.
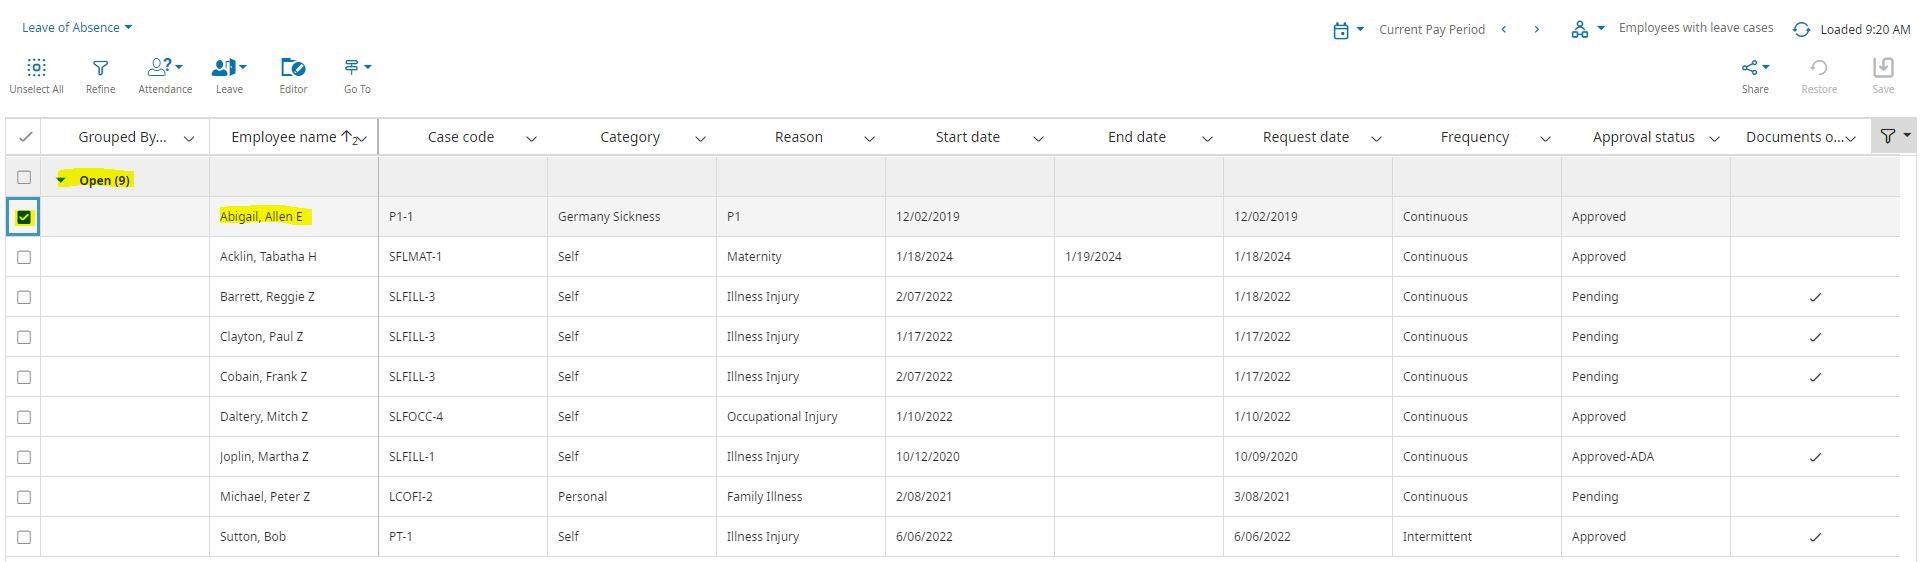
- Select Leave > Add Leave Time.
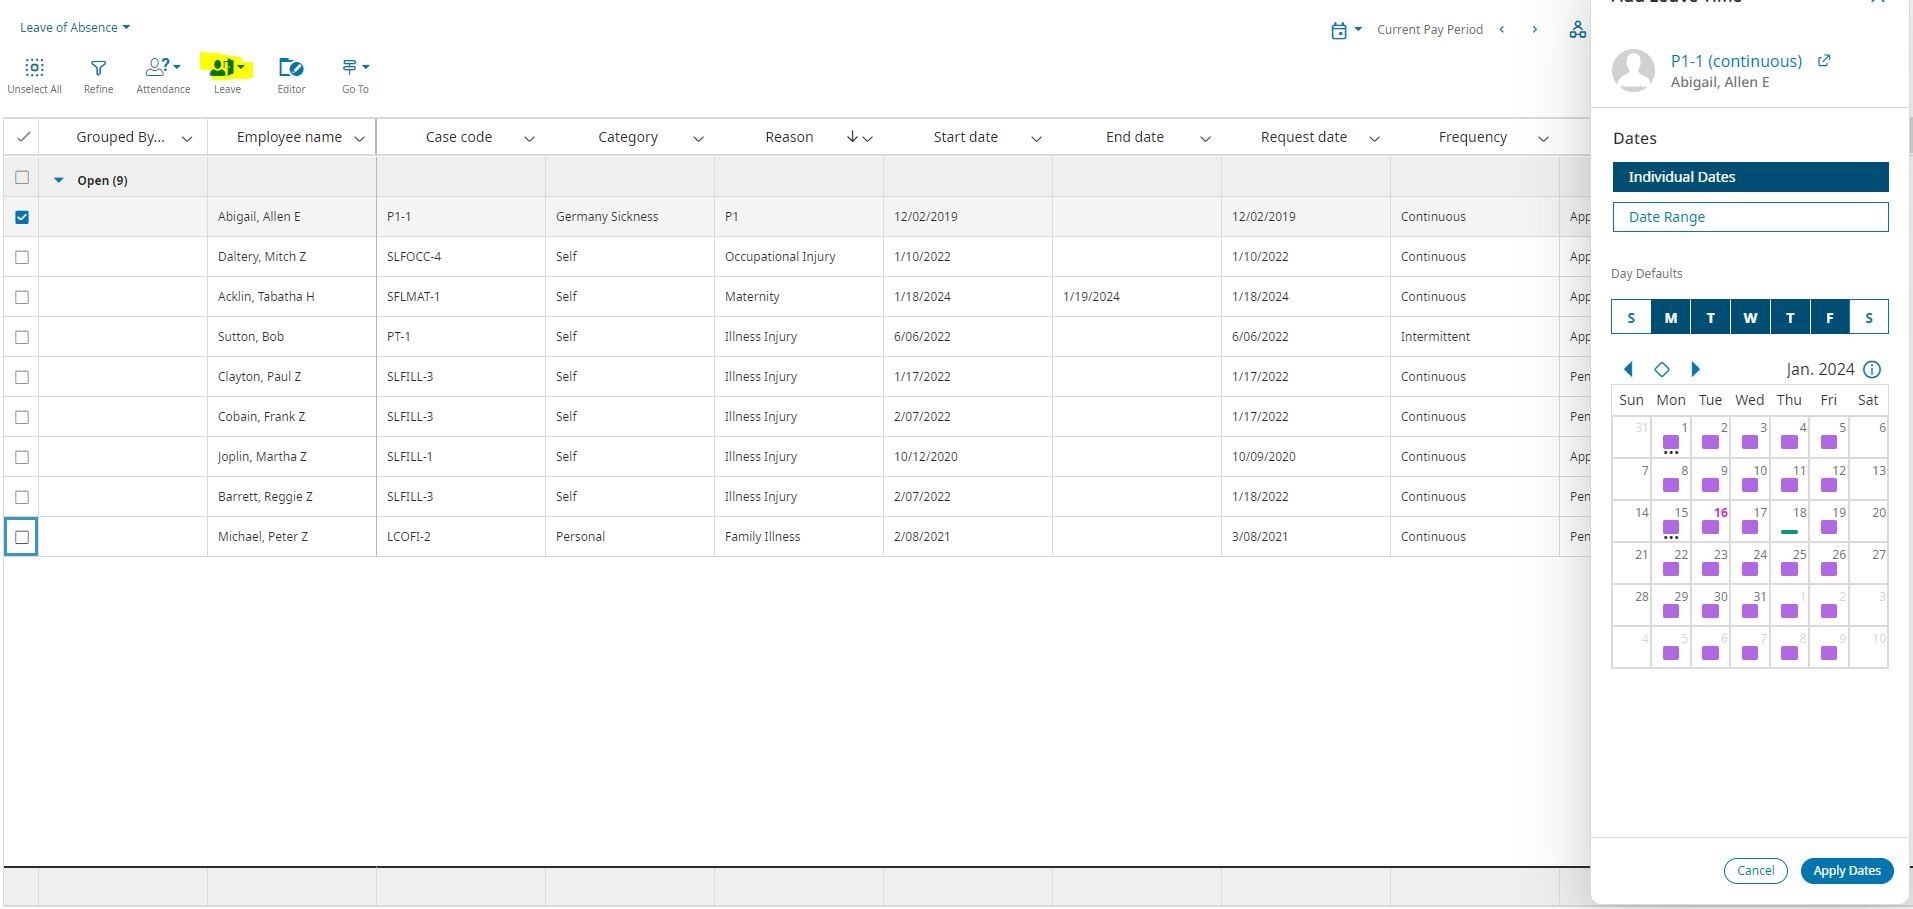
- From the Add Leave Time panel, select one of the following.
- Individual Dates – then select the date(s) from the calendar.
- Date Range – then enter the Start Date and End Date in the fields or select the calendar icon to select the start and end dates.
- Select Apply Dates.
- From the Add Leave Time slider, enter the number of hours you want to add in the Paid field.
- In the Tracking field, enter the number of hours you want to track for accrual purposes.
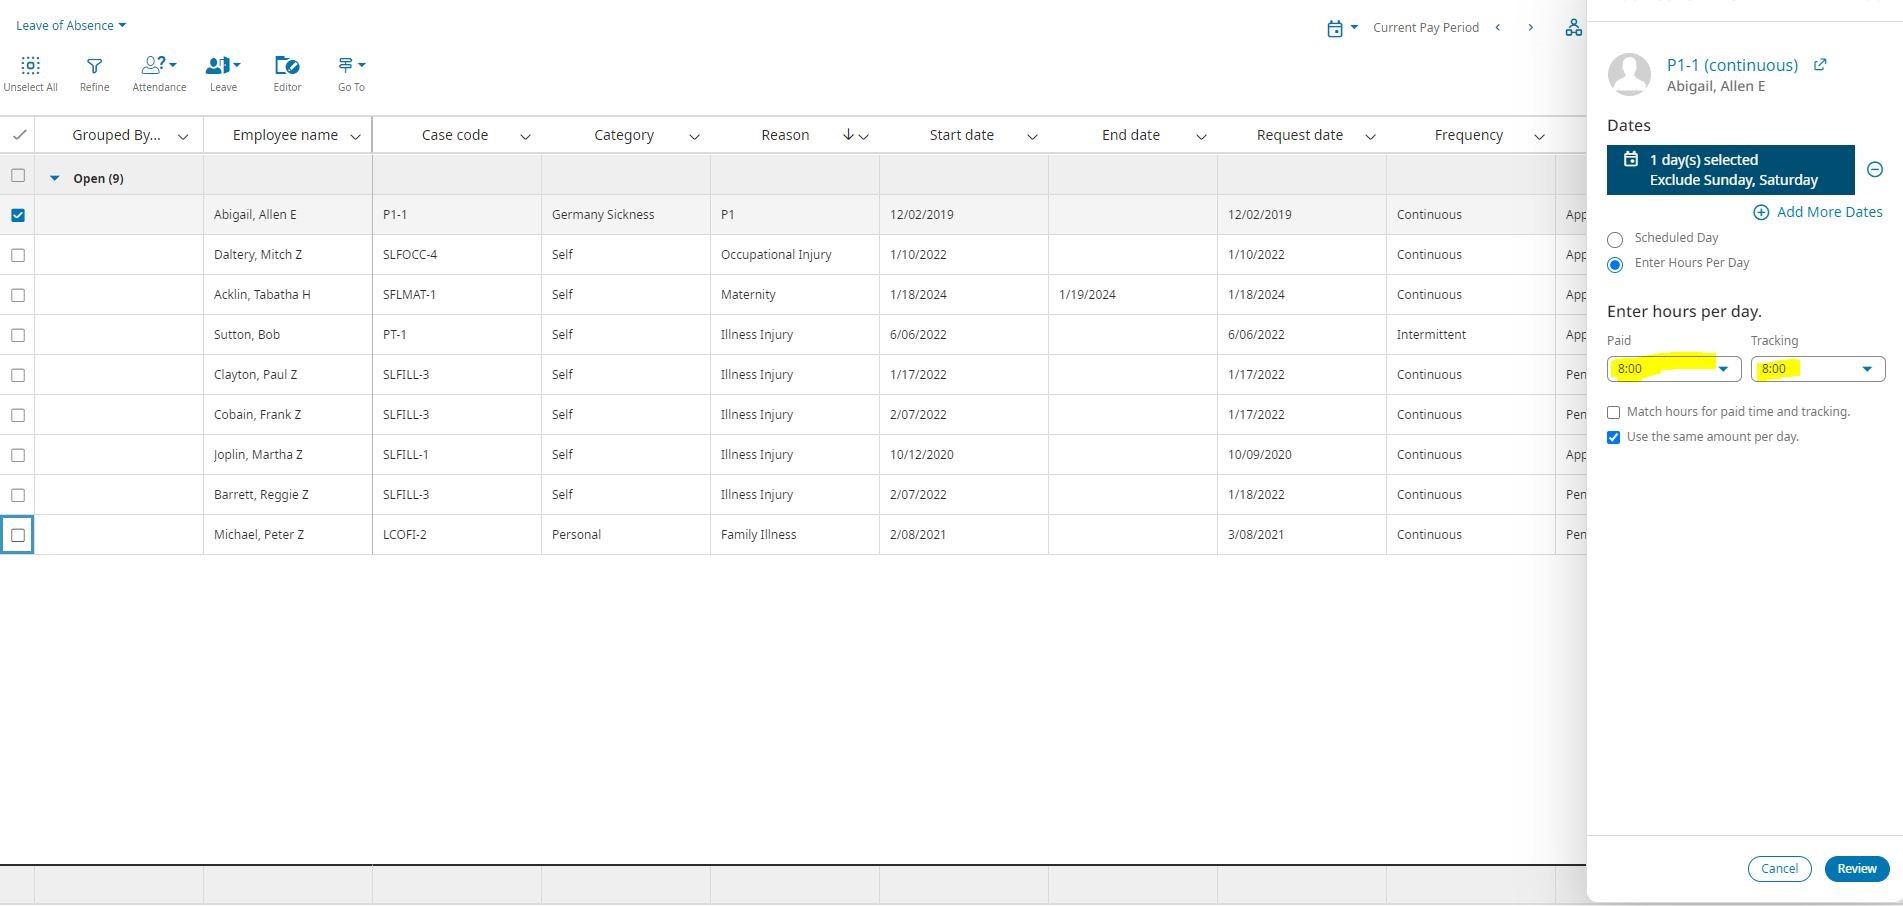
- (Optional) Select the checkbox next to Match Hours for Paid Time and Tracking when you want to make paid time and tracking time the same.
- (Optional) Deselect Use the Same Amount Per Day when you need to add varying amounts on specific dates, then enter the Paid and Tracking hours for each date selected.
- Select Review.
- Select Submit.
Delete Leave Time
If an employee changes the dates of a leave of absence, you may be required to access the calendar to remove a portion of leave time that has been applied.
Navigation: Main Menu > Time > Leave of Absence
Navigation: Home Page > Manage Leave of Absence Tile > Go to Leave of Absence
- From the Leave of Absence page, select the box next to the name of the employee whose leave time you want to delete.
- Select Editor.
- From the Leave of Absence Case Editor, select Calendar from the actions bar.
- From the Leave of Absence Calendar, select the date(s) that contains the leave time you want to delete.
- Select Leave Time > Delete.
- Select one of the following:
- Delete Leave Time on Selected Days
- Delete All Leave Time Forward, Starting On, and then enter a date in the Date field or use the calendar to select a date.
- Select Save.
Also Read: How Managers Can Cancel PTO Requests in UKG Ready