To enable the delivery of reports via email, several configurations must be set up within the application. These configurations should be tailored for the manager who will be running the report, as specified in the “Run As” field of the Reporting Job.
- Ensure a valid email address is configured in their Contacts section within the People Editor.
- Create a Notification Profile with Email selected as the preferred method of notification. This profile should have the same priority as that of the “Scheduled Report Notification.”
- Access this configuration through: Application Setup > Event/Notification > Notification Profile.
- Grant access to the desired report in their Report Data Access Profile.
- Access this configuration through: Application Setup > Access Profiles > Reports.
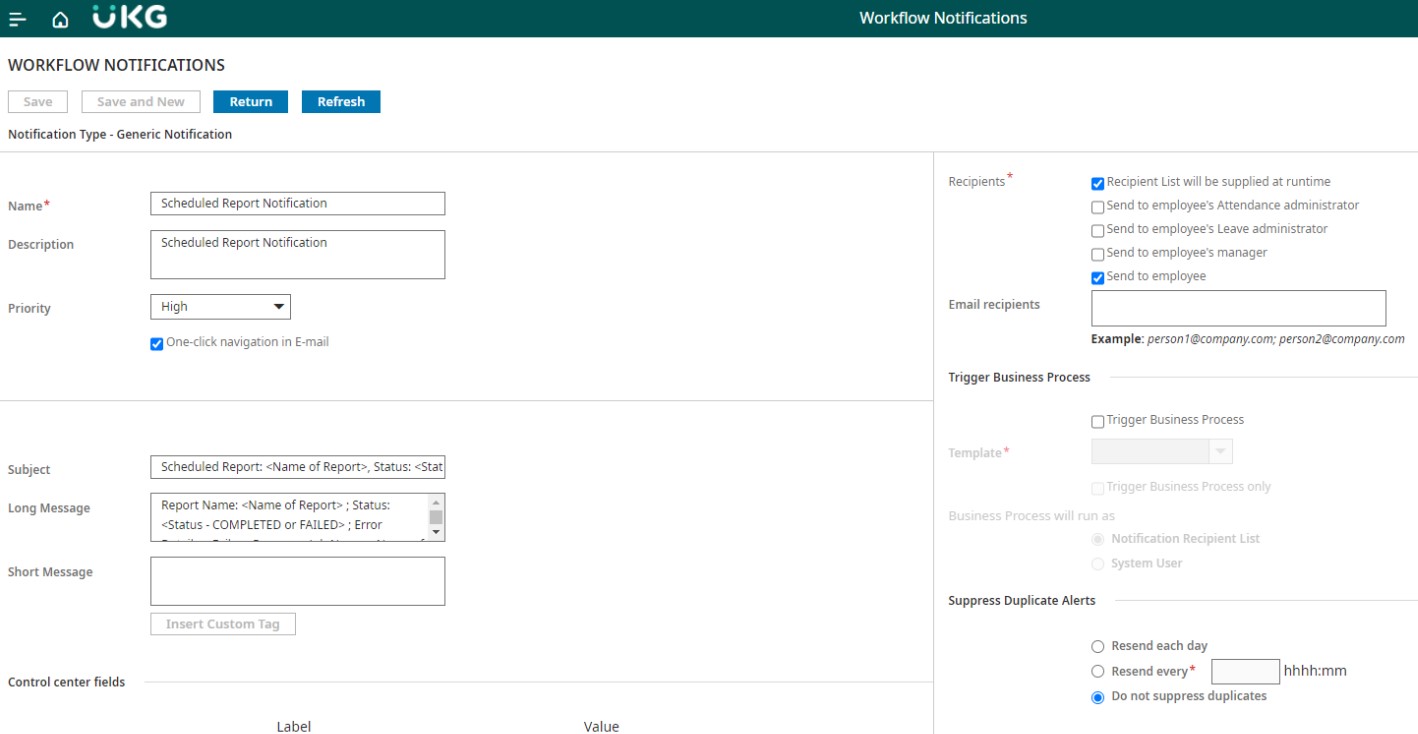
The “Scheduled Report Notification” must be configured as shown below:
Additionally, several general configuration items are required for the application as a whole rather than on a per-user basis. These settings are applied universally across the application.
Ensure that the “Scheduled Report Notification” is correctly mapped within the Control Center Notification Mapping. This mapping is essential for receiving report emails and can be found at:
Application Setup > Event/Notification > Control Center Notification Mapping

It’s crucial not to overlook this step, as it’s necessary to report email notifications properly. If this mapping already exists, avoid creating a duplicate.
Once the necessary configurations are in place, follow these steps:
- Navigate to the Home Menu > Dataviews & Reports > Report Library.
- Click on Reporting Jobs.
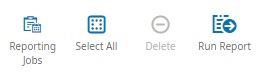
- Select Schedule Report.
- Choose the desired report from the available list.
- Fill out the parameters for the report, specifying the desired date range. Note that scheduling a report for a date range will only generate the report for that specific period and will not automatically adjust based on pay periods or specified days.
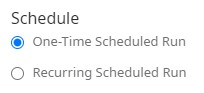
- Under the Schedule section, choose between a one-time or recurring run. For recurring reports, select Recurring Scheduled Run.
- Define the recurrence pattern by selecting the month, hour, day, or week options.
- Enter the start date and time for the report.
- Optionally, specify an end date or select “Forever” if the report should run indefinitely.
- Click Apply to save the recurrence settings.
- Enter the user to run the report as (“Run As user”).
- Specify the recipients of the report.
- Ensure the option to Send as Email Attachment is checked.
- Click Schedule Report to finalize and save the scheduling details.